
How to Carve a Spoon With Just Hand Tools

Spoon carving is an art as old as stone tools. Carving a spoon can be a meditative job that allows you to take a block of wood and end up with a piece of art that is also a functional kitchen utensil. This spoon is made from walnut and can be made in just a couple hours with basic tools. Though this may look complicated and daunting, it is a simple task that most anyone can pick up on their first try. Don't expect perfection on your first spoon, but you can expect to be proud and happy of the work you've done. This can even be made with a block of firewood though the softer the wood like poplar, walnut or cherry, the easier it is to carve. You could even do this with a piece of soft pine.

Supplies and Tools
Hatchet: https://amzn.to/2OpWVYm
Chisel Set: https://amzn.to/2Lyux8X
Mallet: https://amzn.to/2LTds96
Spokeshave: https://amzn.to/2K75e8n
9-1/2" Ryoba ( Double Edge): http://amzn.to/2fviv0x
Hook Knife: https://amzn.to/2mVsoVY
Card scraper: https://www.woodbywright.com/shop/wood-by-wright-card-scraper
Carving Gouge: https://amzn.to/2M2Bon9
Boiled Linseed Oil: https://www.youtube.com/watch?v=VtETzSg4LcE
Paste Wax: https://www.youtube.com/watch?v=WiMw71UBj3M

Step 1 Design the Spoon
You can make the spoon however you want. It is yours and your design. This is a good chance to express yourself and have a little bit of fun. Normally I like to work from a stock piece of wood that's about 3 in wide by 1 in thick by however long I want the spoon to be. But this can be made out of most any material size you have on hand or even firewood.
On mine I chose to be a little bit fancy, and go for an artistic feel with a swooping handle and a fish tail end. Start by drawing the shape you want on the block of wood. This does not have to be specific as you can always change the shape later on.

Step 2 Remove the Majority of the Waste
This is by far the most difficult step and can take the most time. The fastest method is to use a hatchet and a chopping block to chop off the majority of the waste. This method does take a bit of skill but it is very fast and efficient. The second method is to use a chisel and mallet to carve out the wood. You can simply clamp it in the bench vise and work down towards your marks.
In the end you should be left with a block that is roughly spoon-shaped but has no grace or elegance to it.

Step 3 Refine the Handle
At this point, the handle is 1 inch thick as the original block of rough cut wood was 1 inch thick. I really only want the handle to be between 1/4 inch and 1/2 inch thick, so that means I can rip down the backside of the handle and remove a lot of the waste with a hand saw.
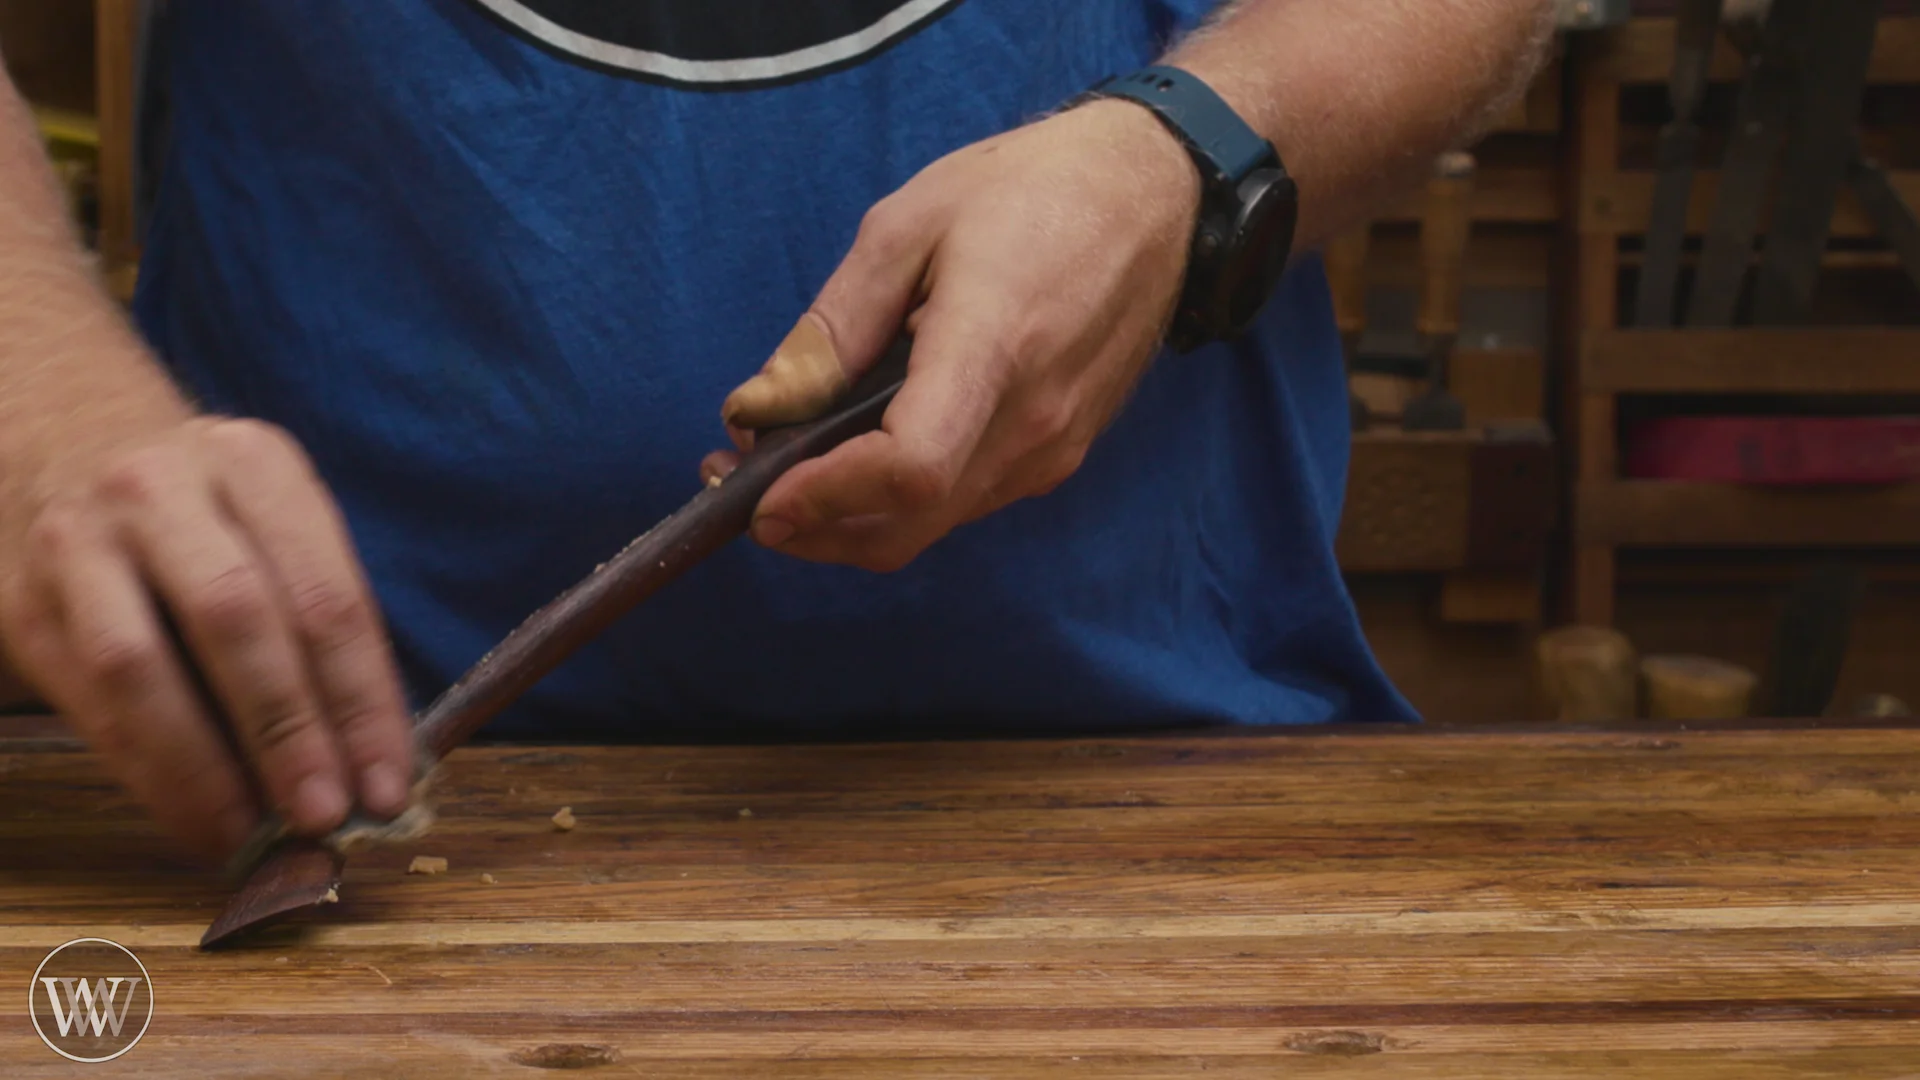
Once that is done, we can start refining the handle and bring it down to a round shape. I like to start with a spokeshave and remove most of the material that way. Once I get it to the shape that I'm looking for, then I can bring in a card scraper and refine that further. This will remove the facets from the spokeshave and leave you with a nice clean surface.

Step 4 Shape the Bowl
Shaping the bowl is a lot of fun and the point at which the spoon starts to come to life. I like to start with a carving gouge and cut in line with the wood from one end of the bowl towards the middle. Then, I can turn around and carve from the other end of the bowl toward where I just stopped. Then, I can come in from the sides and cut cross grain to clean out any of the tear out left from the previous to cut. Next, I can repeat this step again and again until I'm down to the depth that I want. On my spoon, it is about 1/2 inch deep at the bottom of the bowl.
Once the bowl is shaped, then I can come in with a hook knife and clean out all of the facets left from the carving gouge. The hook knife can cut or it can scrape to smooth out the bowl and bring it almost to its finished smoothness.

Step 5 Shape and Smooth all Surfaces
At this point, you have a functioning spoon. But we need to do a little bit more refining work to bring it down to its final smoothness and ready for finish. I like to use a combination of spokeshave and card scraper to get rid of all of the facets. A round card scraper or a gooseneck card scraper can be used it to do the final cleaning on the inside of the bowl. Once everything has been cleaned up and is smooth, it is ready for finish. I choose to use some 220 grit sandpaper to rough up the surface a little bit. This will allow the finish to be absorbed into the surface a bit more.
Step 6 Finish the Spoon
For a finish, you are probably going to want to use a food-safe finish and most finishes are food safe once they have cured, but some people tend to be a bit picky about what they want touching their food. The common choice is to use mineral oil but my choice is to use a homemade boiled linseed oil and paste wax. I would not use the stuff you can buy at the store as that will have a chemical dryer that you probably do not want in your mouth. I have other videos on how to make your own boiled linseed oil and paste wax here.
https://www.youtube.com/watch?v=VtETzSg4LcE&t=1s
https://www.youtube.com/watch?v=WiMw71UBj3M&t=2s

I apply three or four coats of boiled linseed oil with about 15 to 20 minutes in between coats. After that, I dry off the excess oil and apply a coat of paste wax. And make sure to rub the paste wax deep into the surface. Once the paste wax has dried, the surface can be buffed off and shined up. And now you have a finished spoon.