
How To Make A Try Square | Beginner Woodworking Project
Making a Try Square is an incredibly simple project, even though it requires a high amount of precision. When first starting off in woodworking, often, some of the best projects are tools for your own shop. A Try Square is one of the simplest tools that can be used for the rest of your life. Along the way, we will learn how to make a bridle joint and how to adjust the Try Square as it will move over time. Put your worries behind you and feel free to jump in and make your very own Try Square. If you want to see more detail, you can find a video with more information here: https://www.youtube.com/watch?v=cxNpwOiF5zQ
Tools Needed
Chisel set: http://amzn.to/2i26mzX
Hand saw: http://amzn.to/2hjAura
Hand plane: http://amzn.to/2hc6LQZ
Block plane: http://amzn.to/2ikkaqg
Mortising gauge: https://amzn.to/2JfY7hh
Marking knife: http://amzn.to/2hPHf34
Wooden screw clamp: https://amzn.to/2H7Rusj
Card scraper: https://www.woodbywright.com/shop/
Supplies Needed
Scraps of lumber:
Wood glue: https://amzn.to/2J3eCdb
Boiled linseed oil: http://amzn.to/2hPEUVO
Paste wax: http://amzn.to/2inlN23

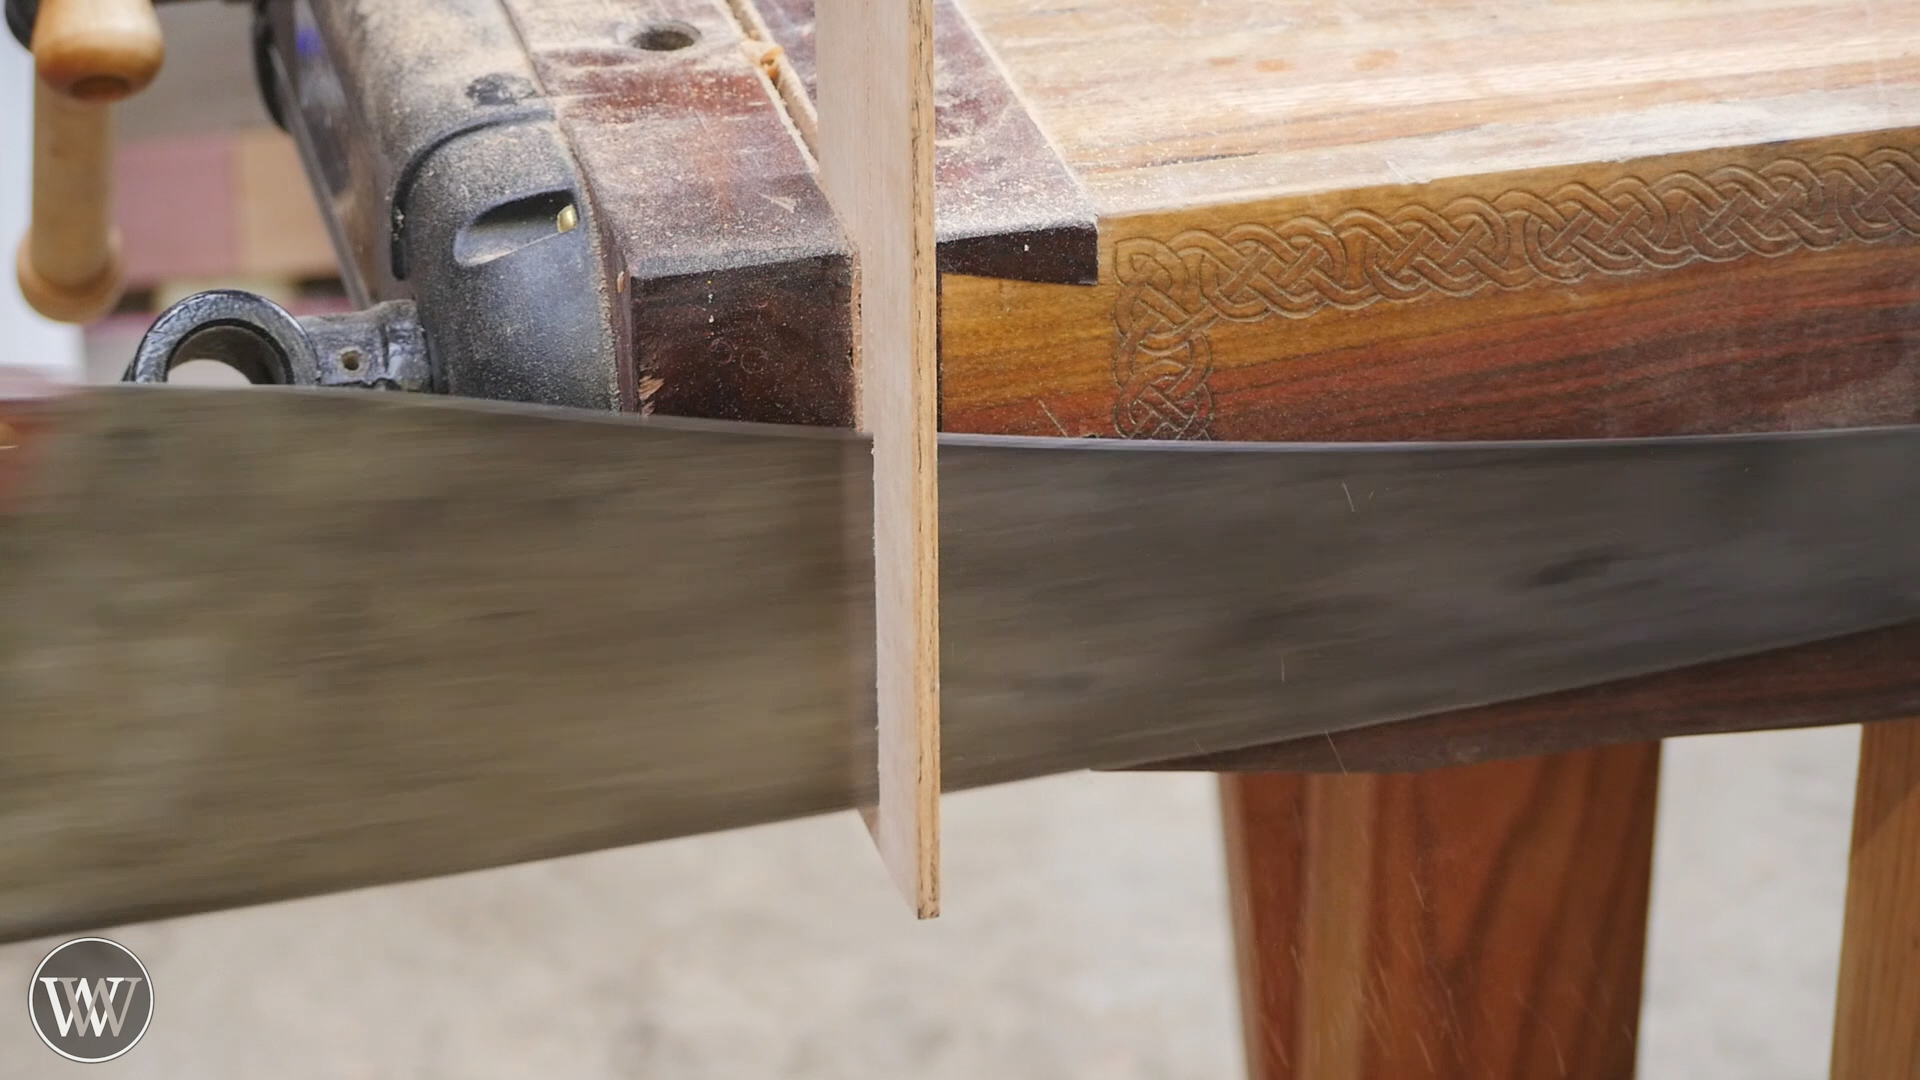
Cut Post To Length
In this project, the size of the boards really do not matter, the post in mine is about 6 inch long about 2 in wide and about ¾ inch thick. Whatever scrap you have lying around will work perfectly fine, just make sure your scrap has parallel sides and is cleaned up and ready to work with. I started by cutting mine to whatever length looked good using a hand saw at the bench.
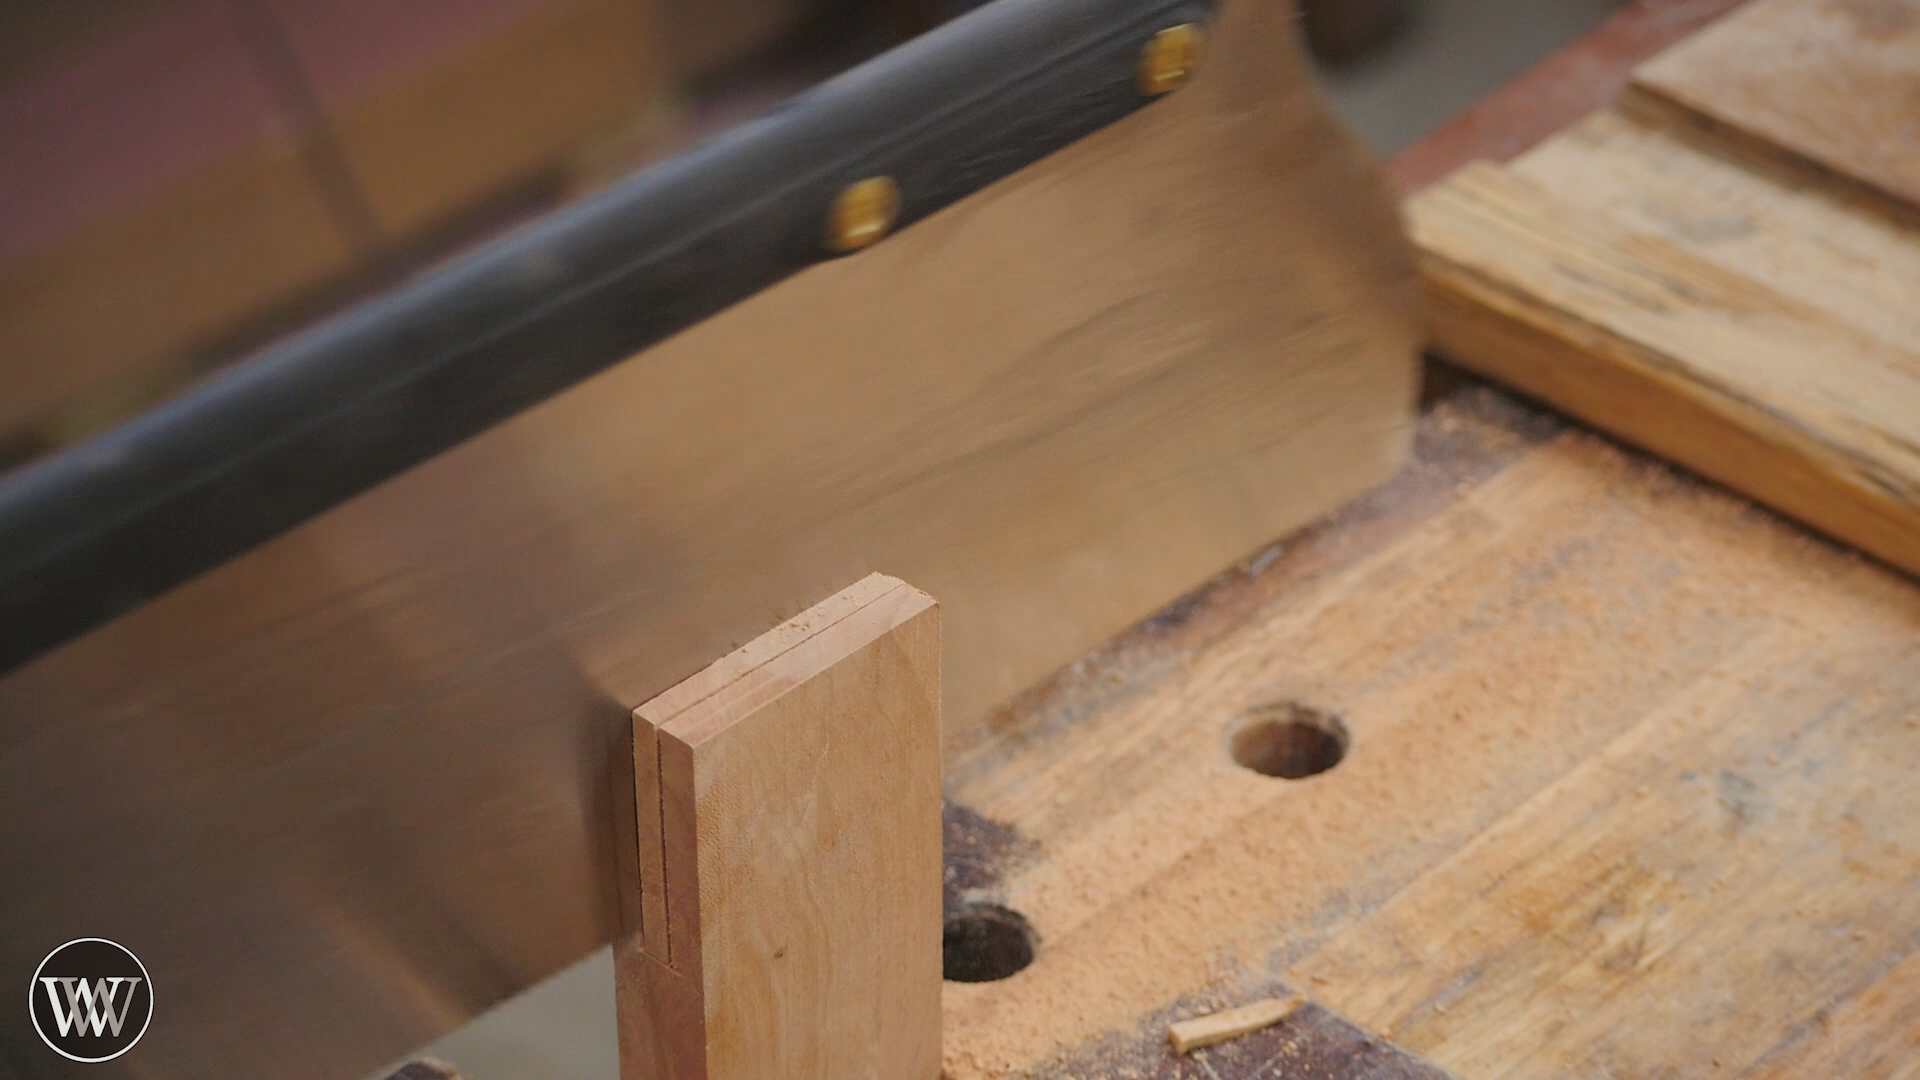
Cut The Mortise
I used a mortising gauge to lay out the thickness of the mortise. This should be the same width as the beam material you want to use. In my case, the beam was a ¼ in wide so my mortise needs to be a ¼ in wide and it needs to be cut about a ½ inch shallower than the width of your beam. In this case, my beam is 2 ½ inches wide so I cut the mortise to in deep. I used a hand saw to cut down either side of the cheeks of the mortise and then removed the waste with a chisel.
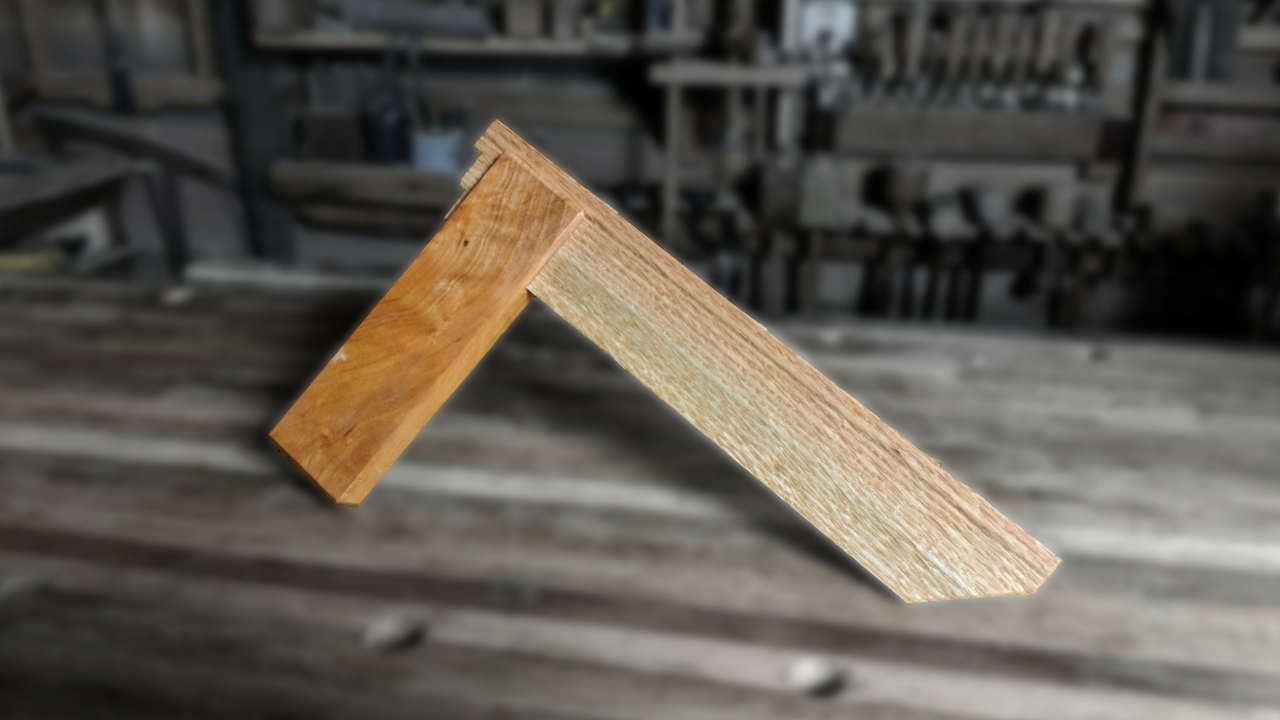
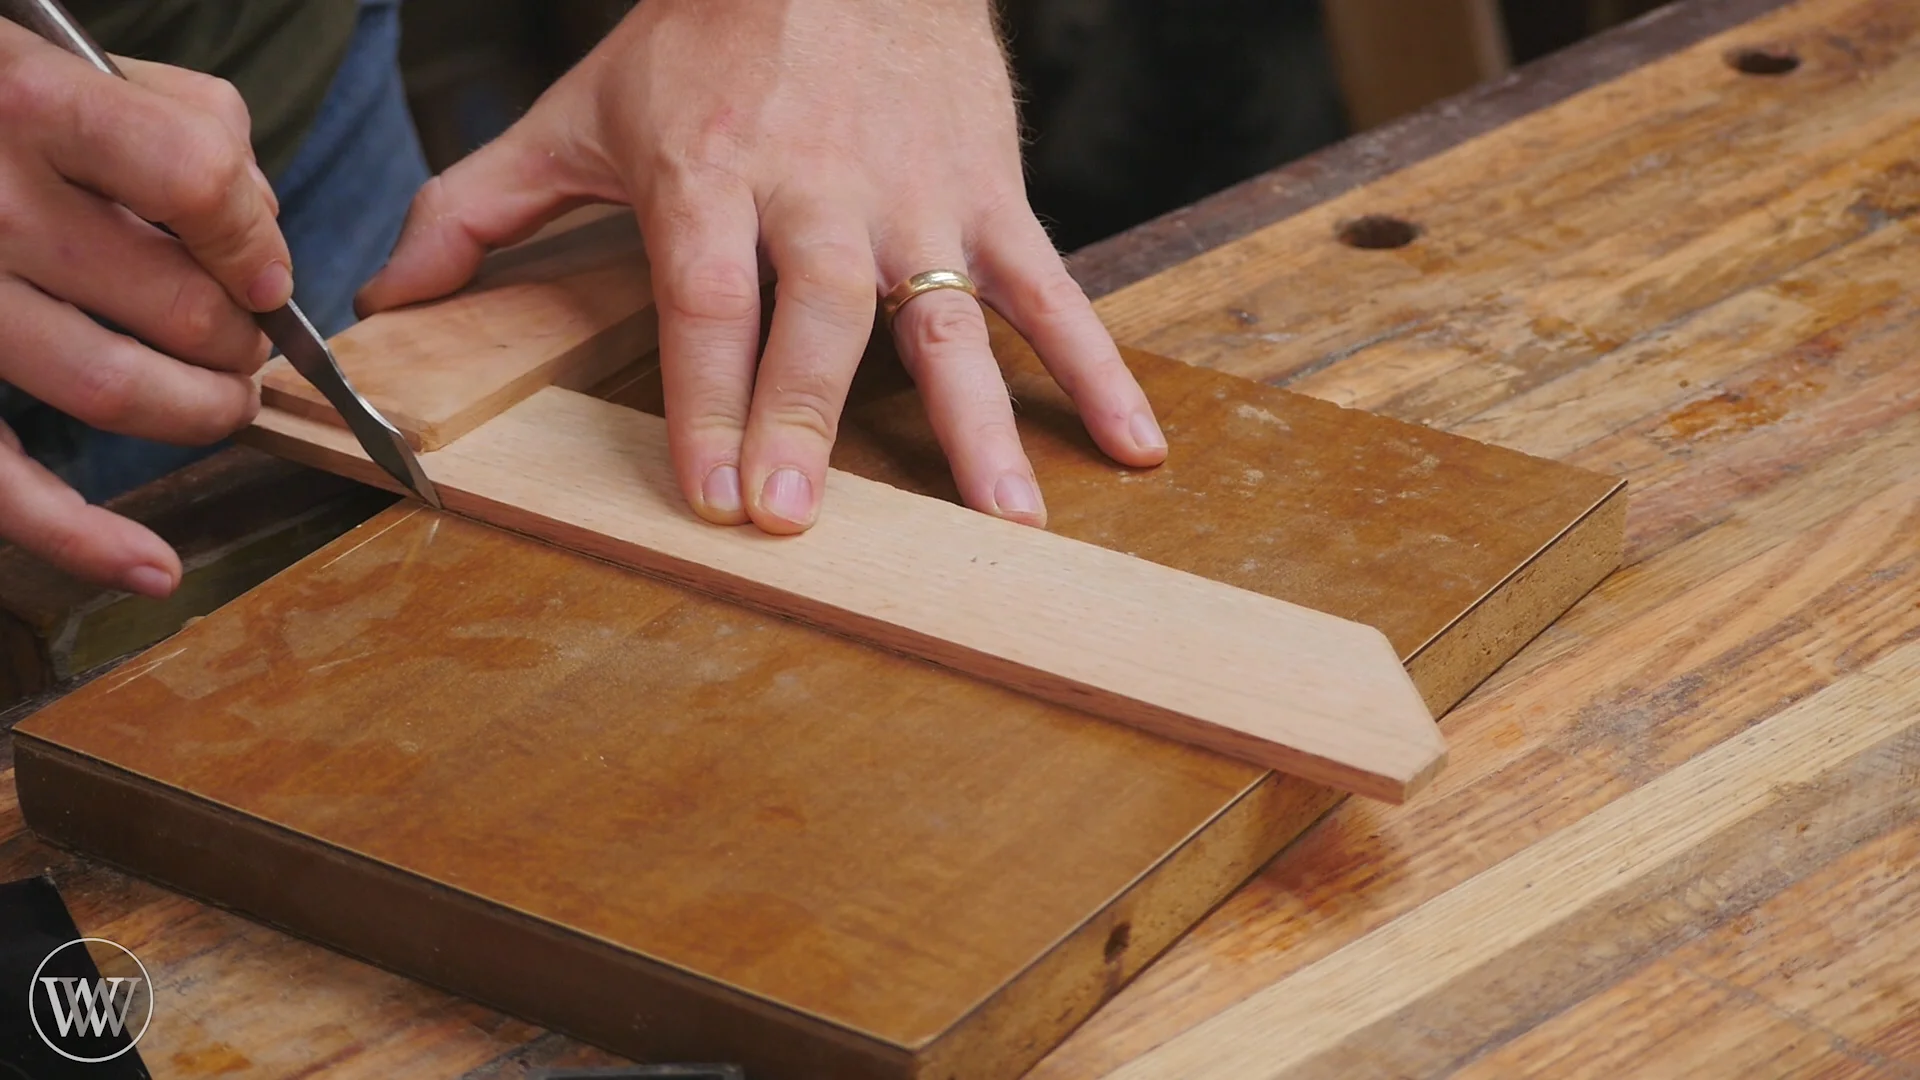
Cut The Beam To Shape
The beam can also be out of any material or scrap you have lying around, but it is best if the beam is ⅓ of the width of your post. In this case, mine was from a scrap of ¼ inch thick white oak. I made it about a foot long and 2 ½ in wide. If you're looking for simple, then you can just leave it rectangular but I wanted to add a little bit of decoration to my Square. To do so, I cut a 45 degree cut on one end and a stair step on the other end. This stair step can be used for quickly laying out lines at ¼ inch, ½ inch, and ¾ inch increments, though most people just leave it a ¼ inch longer than the post.
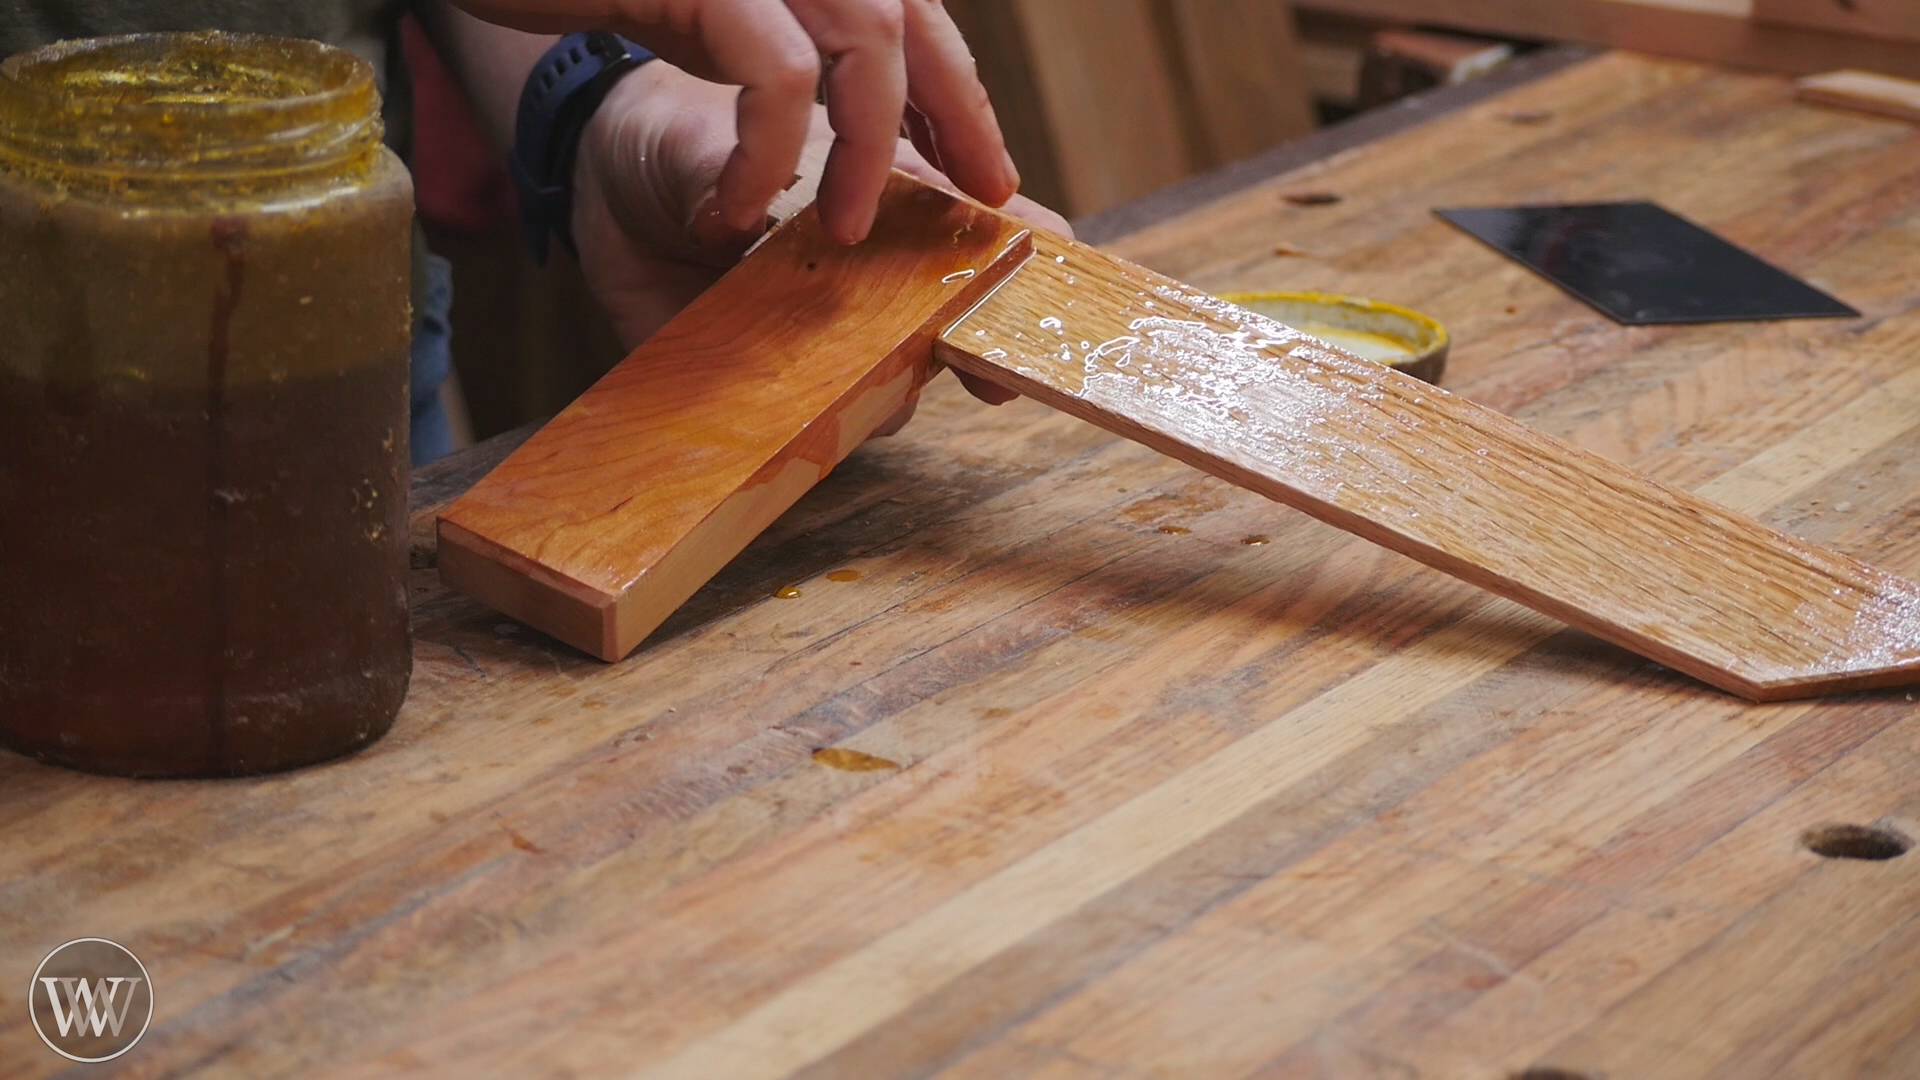
Glue The Beam Into The Post
I used some wood glue to glue the beam into the post making sure that the ¼ inch step on one end of the beam stuck out exactly ¼ in from the post. I then used a wooden screw clamp to clamp together the mortise onto the beam. Before clamping it all the way down, I then used a square to make sure that the square was indeed square. If you do not have another square, you can follow the instructions here to test if the square is indeed square without using a square. https://www.youtube.com/watch?v=enEYzTXg2Jg
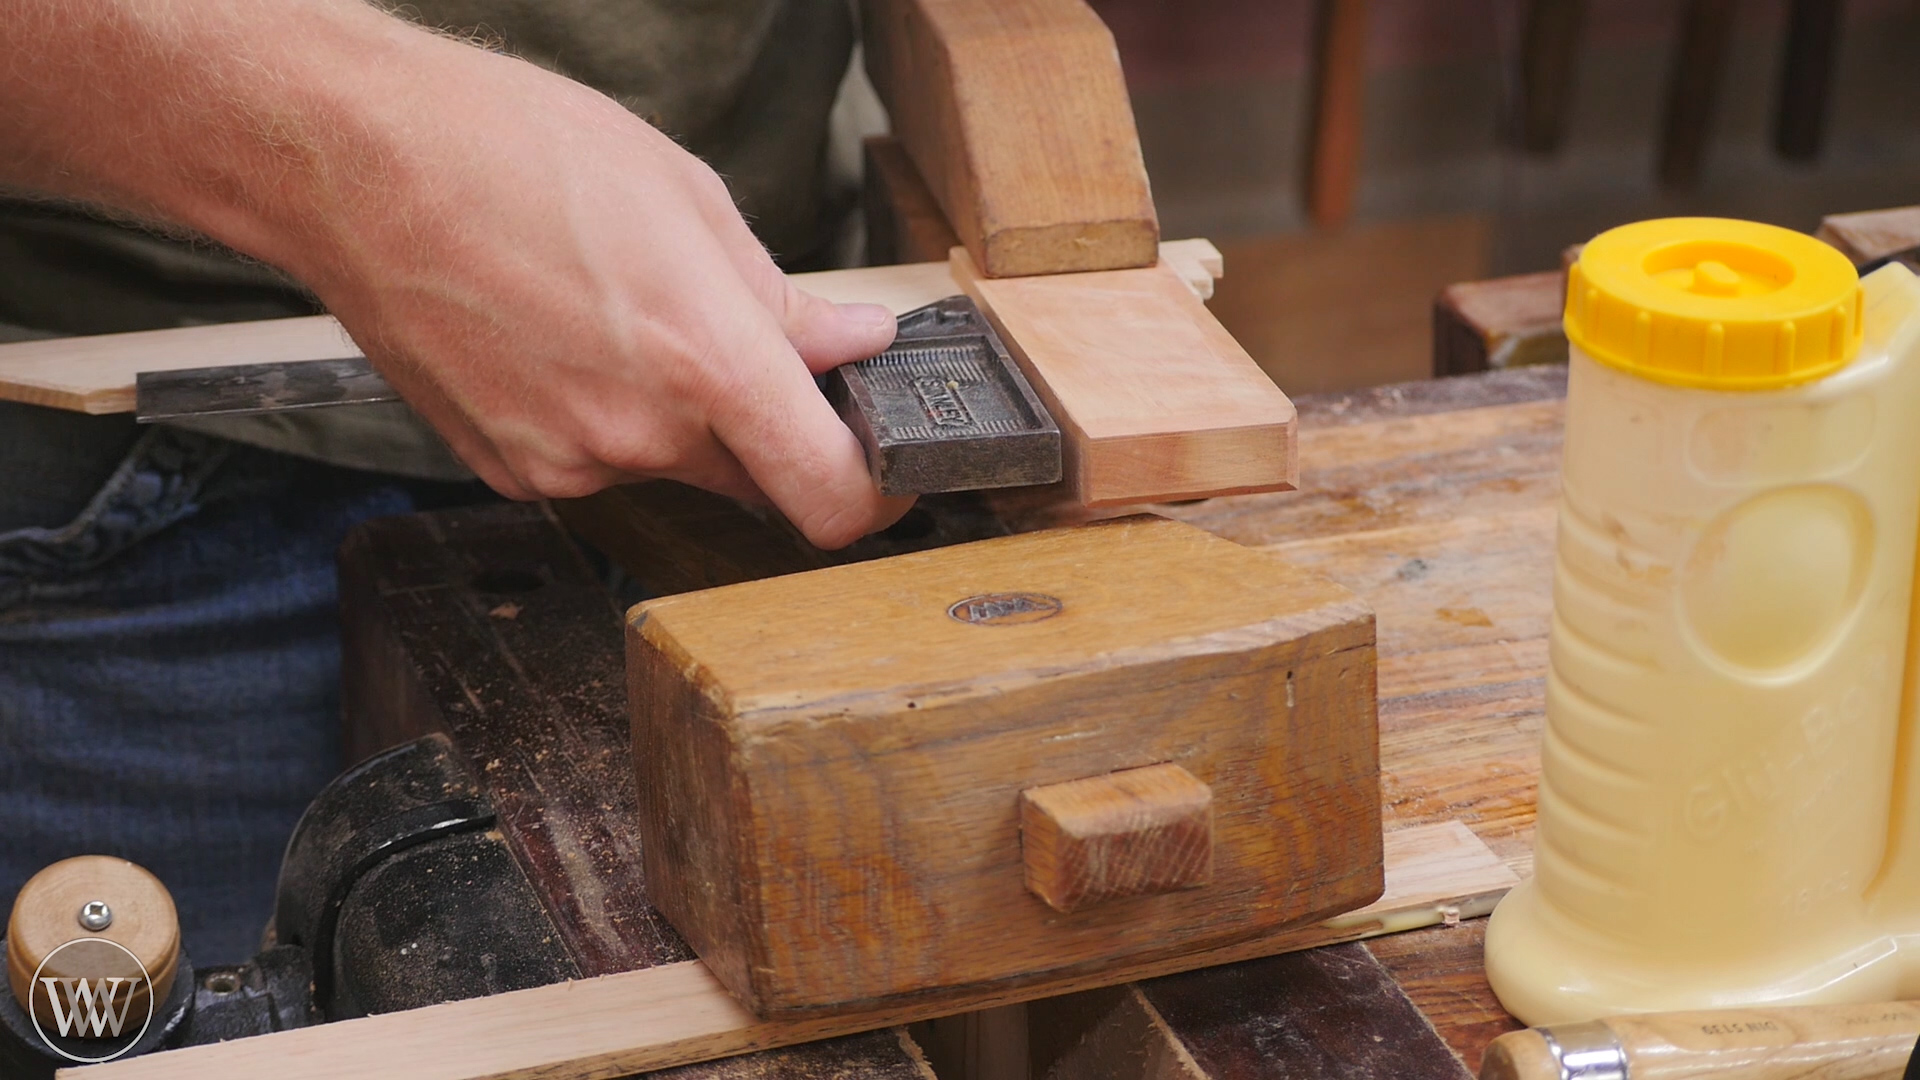
Adjust The Square
The inside of the square should be perfect as it was checked before gluing with another square or with using the line trick on a straight board. But, if the two edges of the beam are not perfectly parallel, the outside will be out of square. Also, because the square is made of wood, it will have a tendency to move a little bit over time. So, I will use the line trick on a straight board to check and see if the outside of the square is indeed square. To adjust it, I can use a plane and start at the end of the beam that is too high and take off a little bit on that end and then slowly move the plane back along the board taking off longer and longer strokes until I get one nice pass from end to end of the beam. This will take off more material on one end than the other and taper it from one end to the other. Then I can take it back to that board and test to see if it is square. Just repeat the process until it is within tolerance.
Finish It
Once the glue has dried, I cleaned up any squeezed out glue with a card scraper and chisel and then do any small finishing and smoothing I want to do before applying finish. For the finish on this, I chose boiled linseed oil and paste wax. I love the way it feels in the hand and it brings out the color of the White Oak in the Cherry like nothing else. It is also a very easy finish to apply, the boiled linseed oil just goes on to the wood until the wood stops absorbing it, then wipe off the excess and apply paste wax. The whole process can take less than an hour and leaves a finish that is fantastic to the touch and will last a good while.